

What is THE FACEBOOK PIXEL?
The Facebook Pixel is a piece of code placed on the Events Promotion Page that collects data from visitors that land on this page. This data will help you build targeted audiences for future ads and re-engage fans who have already taken some kind of action on your Promo Page.
Summary
Click on one of the topics below to learn more:
What data does the Facebook Pixel collect?
The Facebook Pixel will collect the following information from your Promo Page visitors:
Anything present in HTTP headers:
IP addresses, information about the web browser, page location, document, referrer and person using the website.
Button click data:
Any buttons clicked by visitors (i.e. clicks on theTrack button, Tickets button, RSVP buttons, Request a Show button, etc.), the labels of those buttons and any pages visited due to button clicks.
Additional custom data (not default, optional):
Examples of custom data events include adding a conversion value, page type, etc., to default events.
Creating a Facebook Pixel:
Note: These instructions assume that you already have a Facebook Business Manager account for business ads.
Step 1

From your Facebook Business account, click Connect to Data Sources in the left hand menu, then select Web. Click Get Started to continue.
Step 2
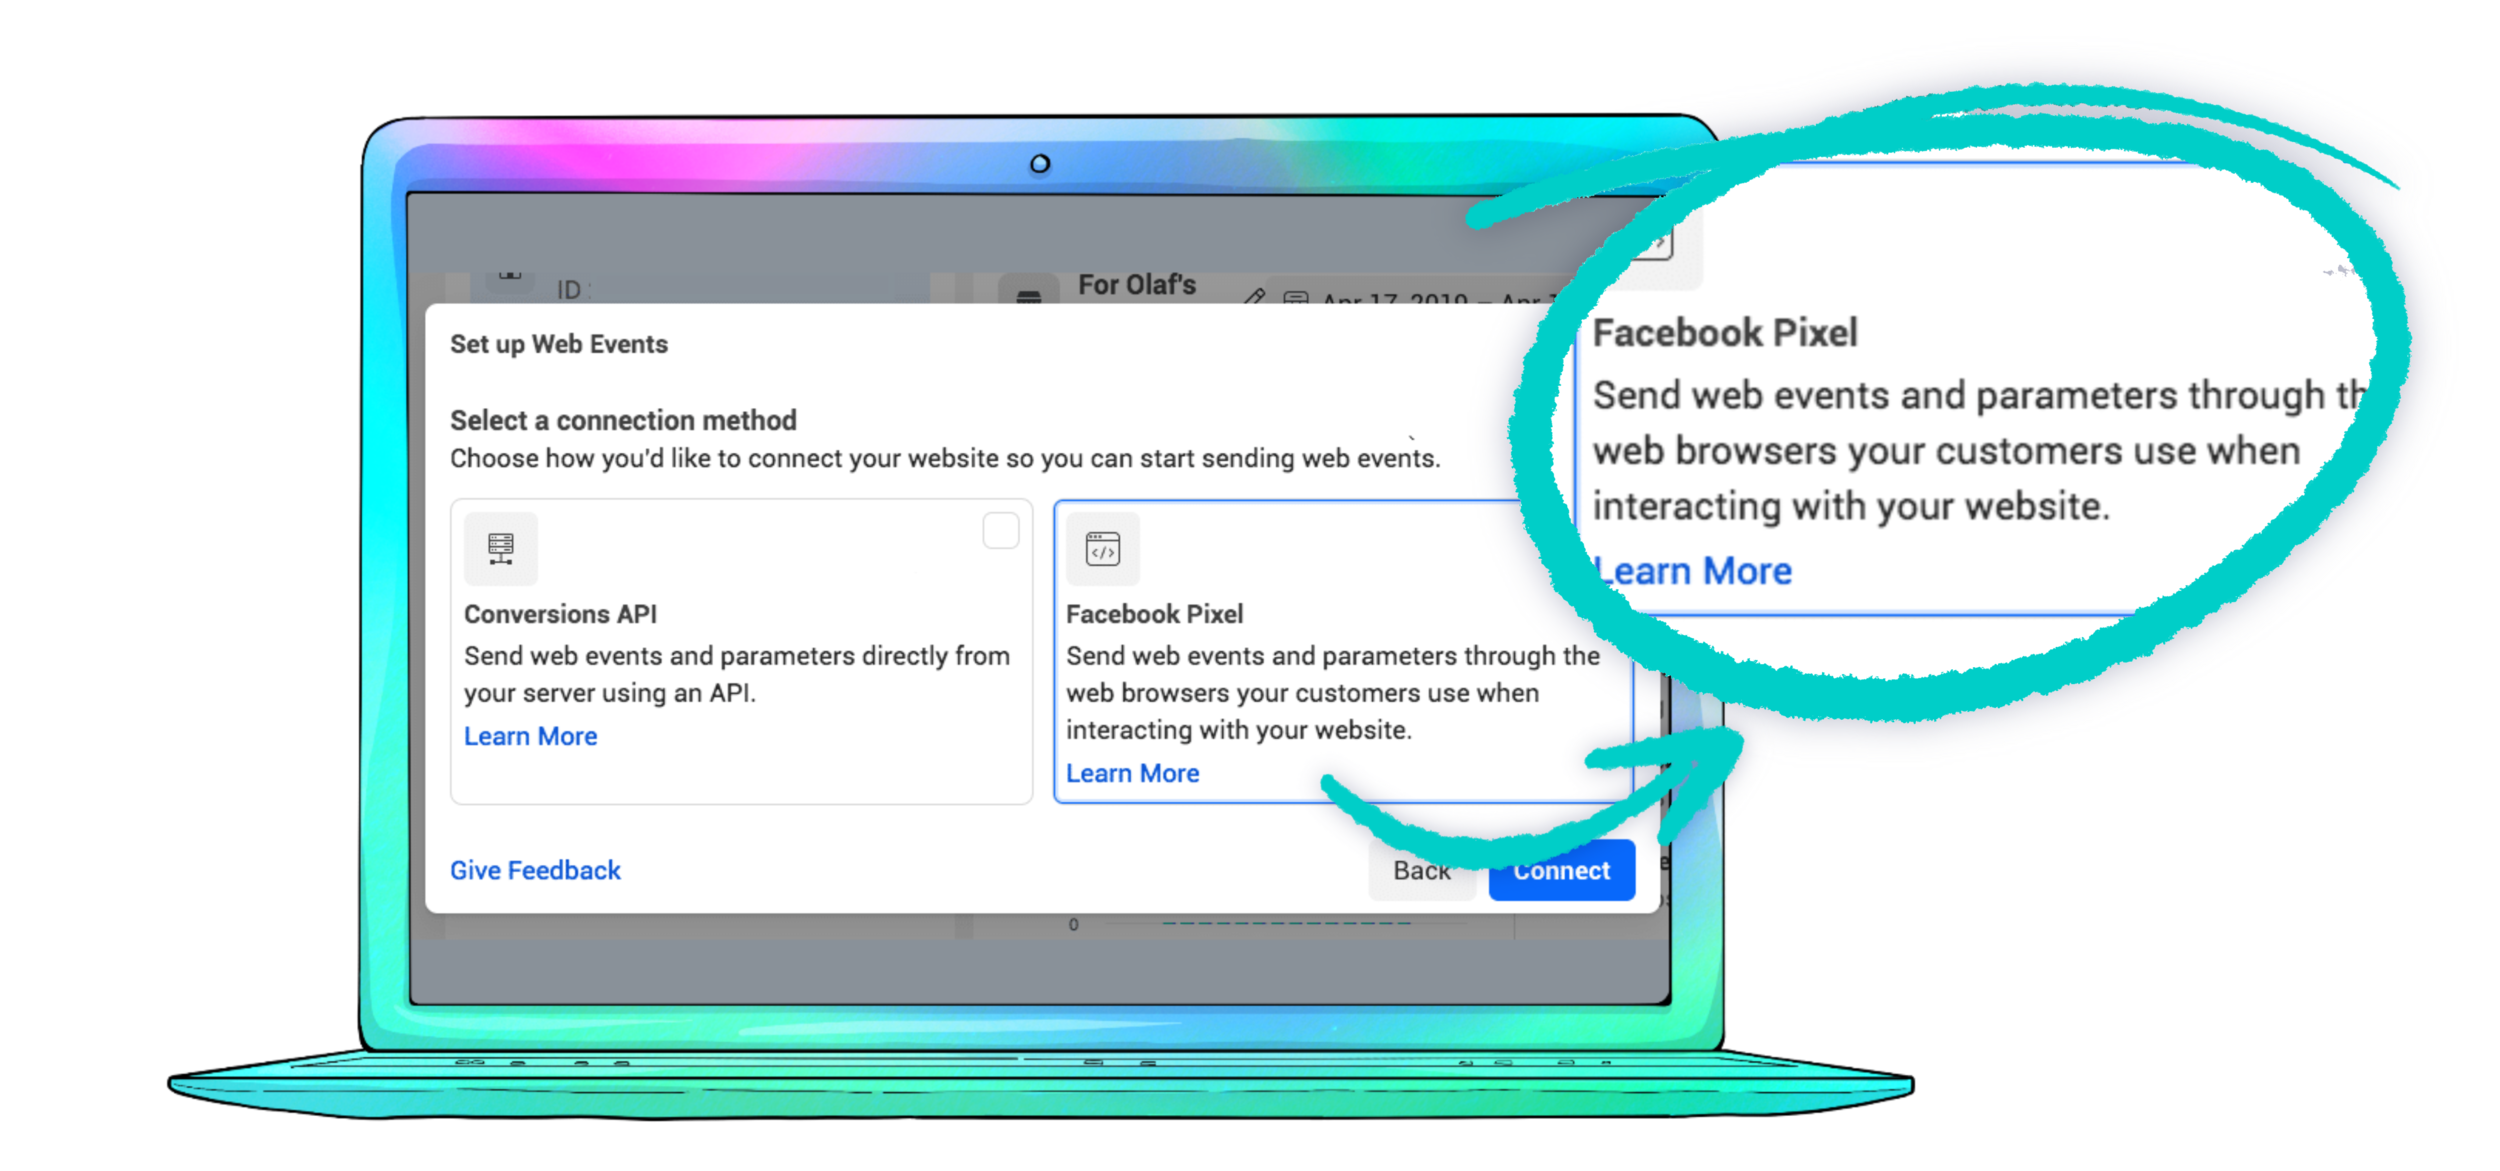
Select Facebook Pixel, then click Connect.
Step 3
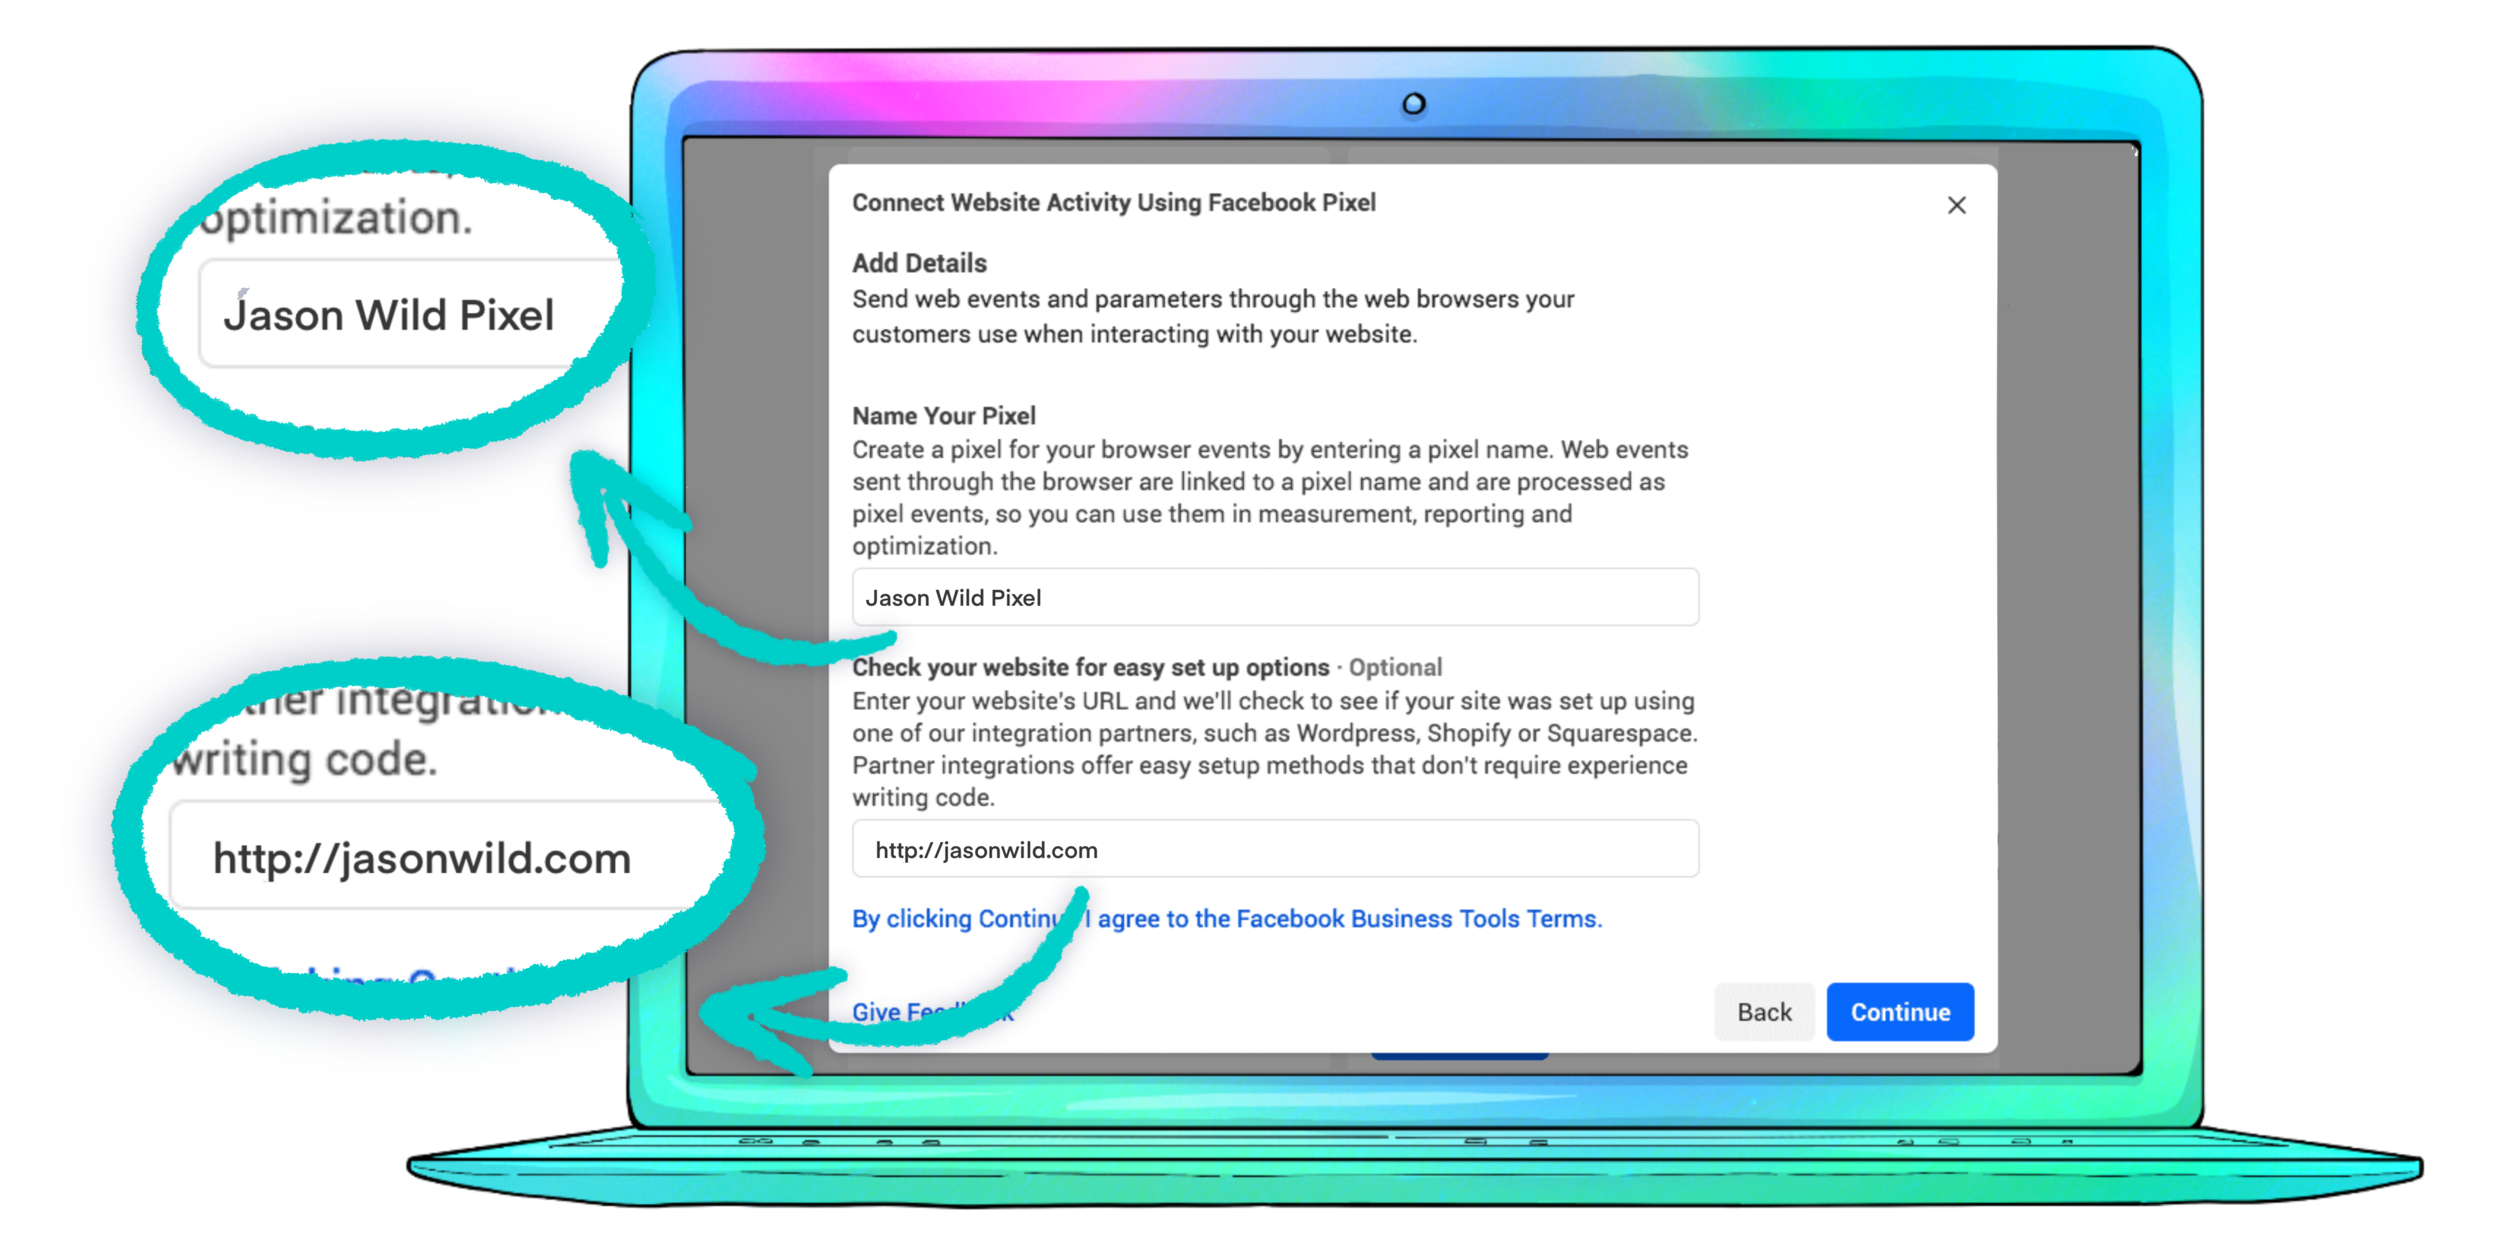
Name your pixel, enter your website URL, and click Continue.
Adding and testing the Facebook Pixel ID on the Promotion Page:
These next steps will help you ensure the tracking pixel properly works and gathers the intended data from visitors that land on your Promotion Page.
Note: To facilitate testing, all processes are made on Google Chrome.
STEP 1

On Google Chrome, install the Facebook Pixel Helper.
STEP 2
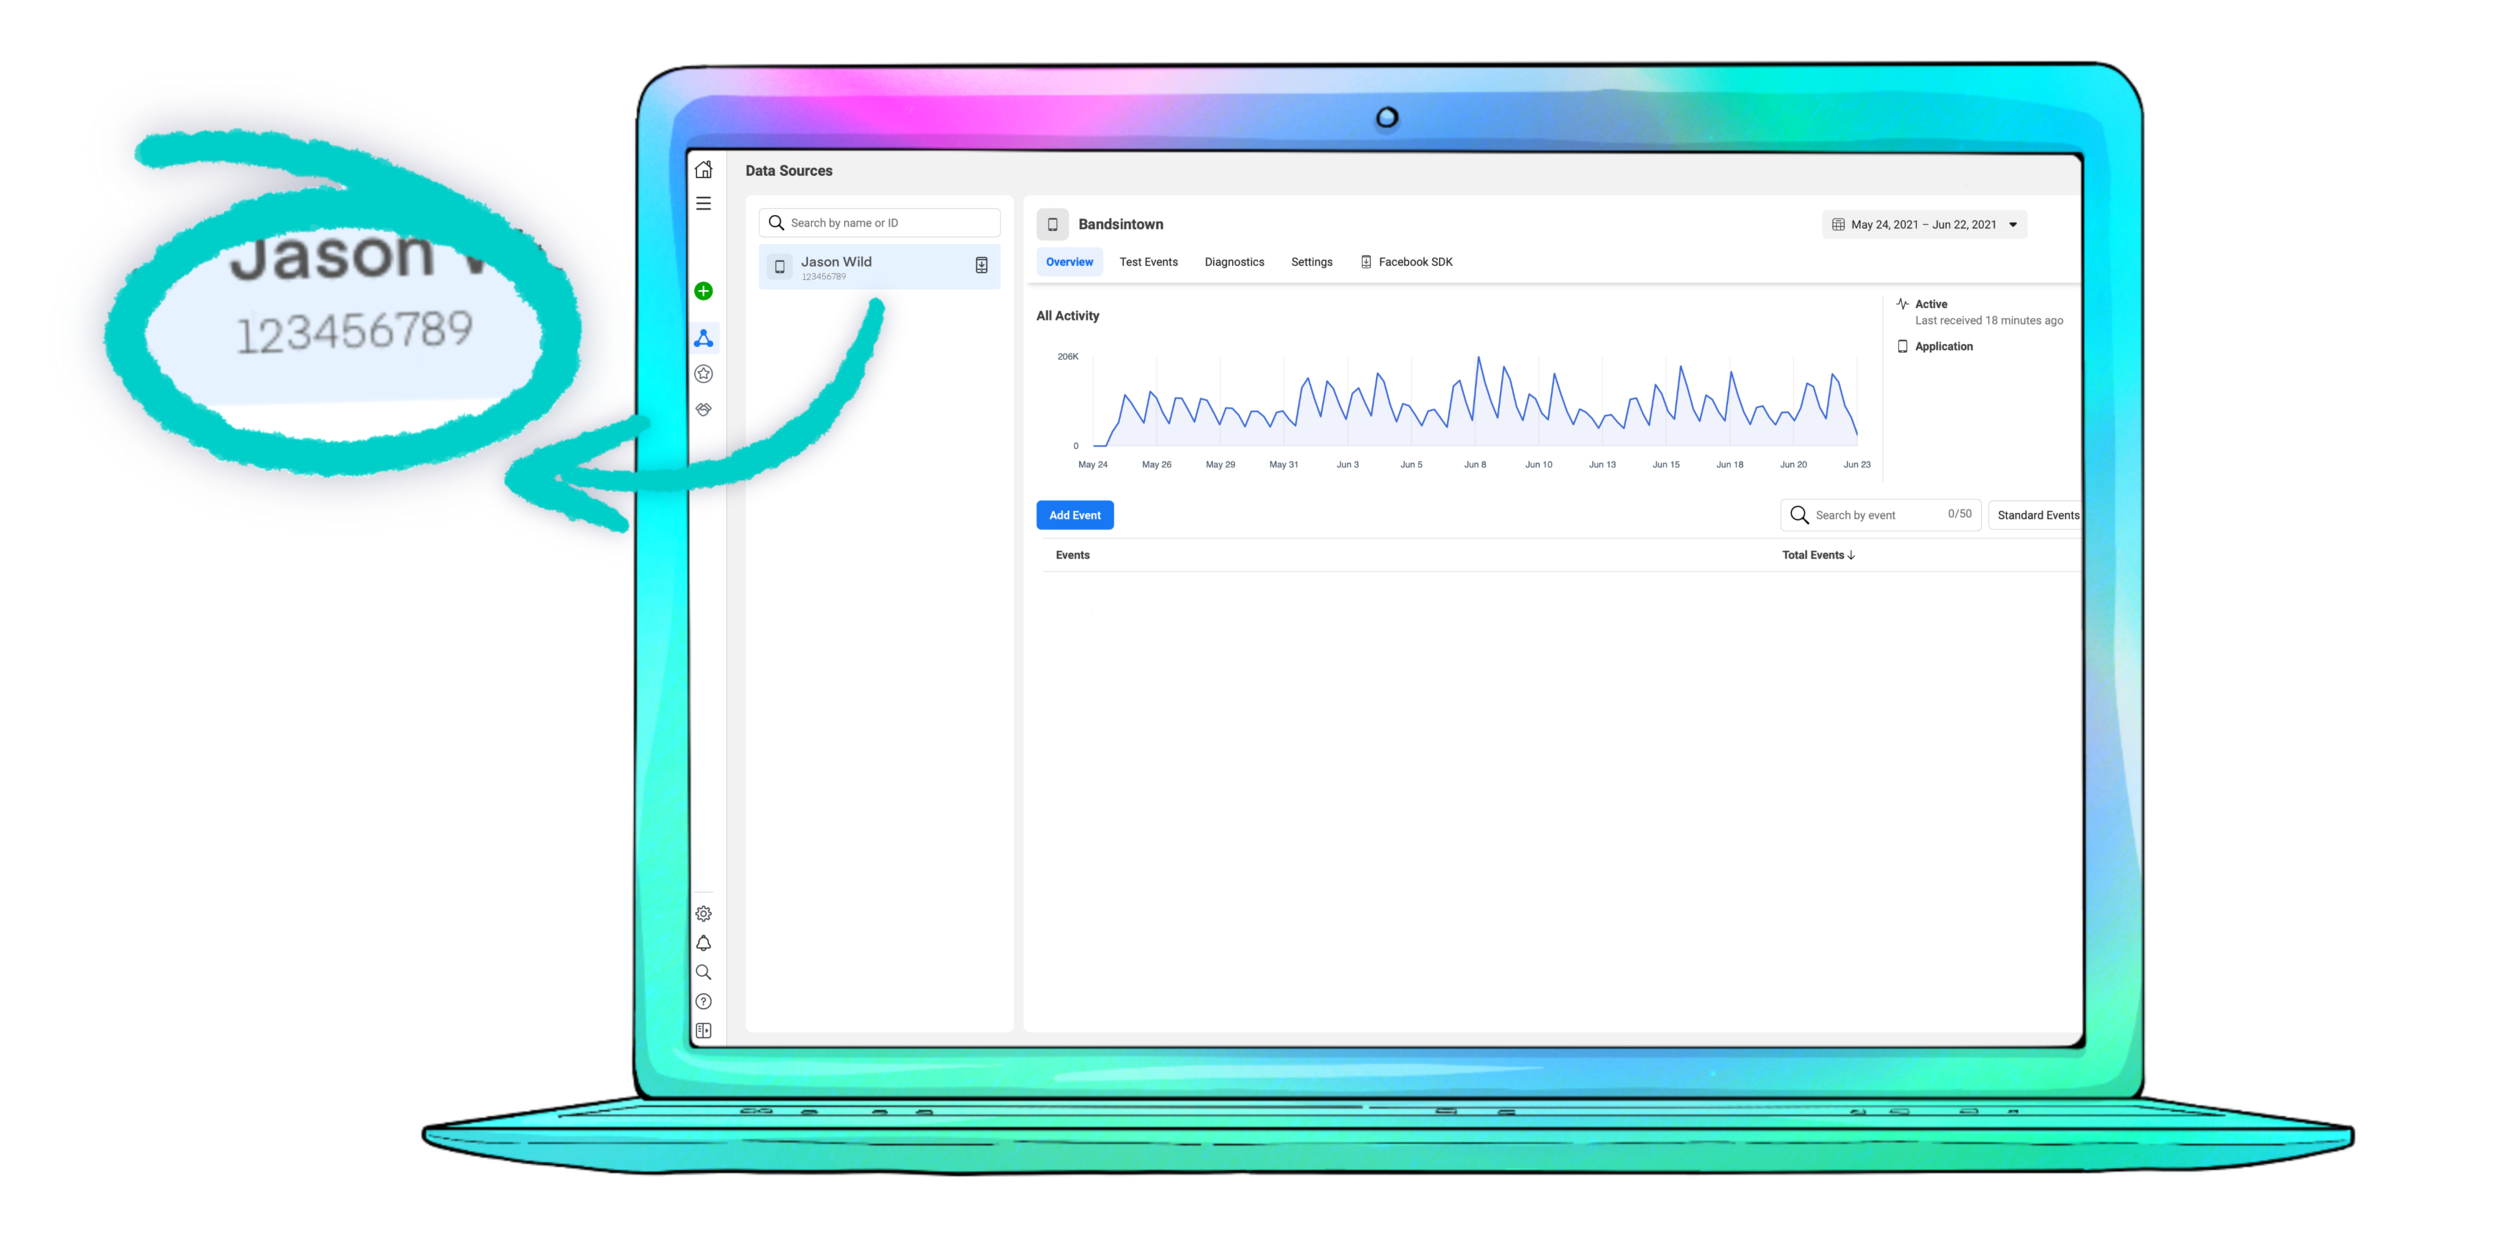
Copy your Facebook Pixel ID from your Facebook Business Manager account. To do so, click on Events Manager on the Navigation Bar and copy your Pixel ID from underneath your account name.
STEP 3

Paste the Facebook Pixel ID on the respective field on the Events Promo Page configuration page. On the same page, copy your unique Promo Page URL.
STEP 4
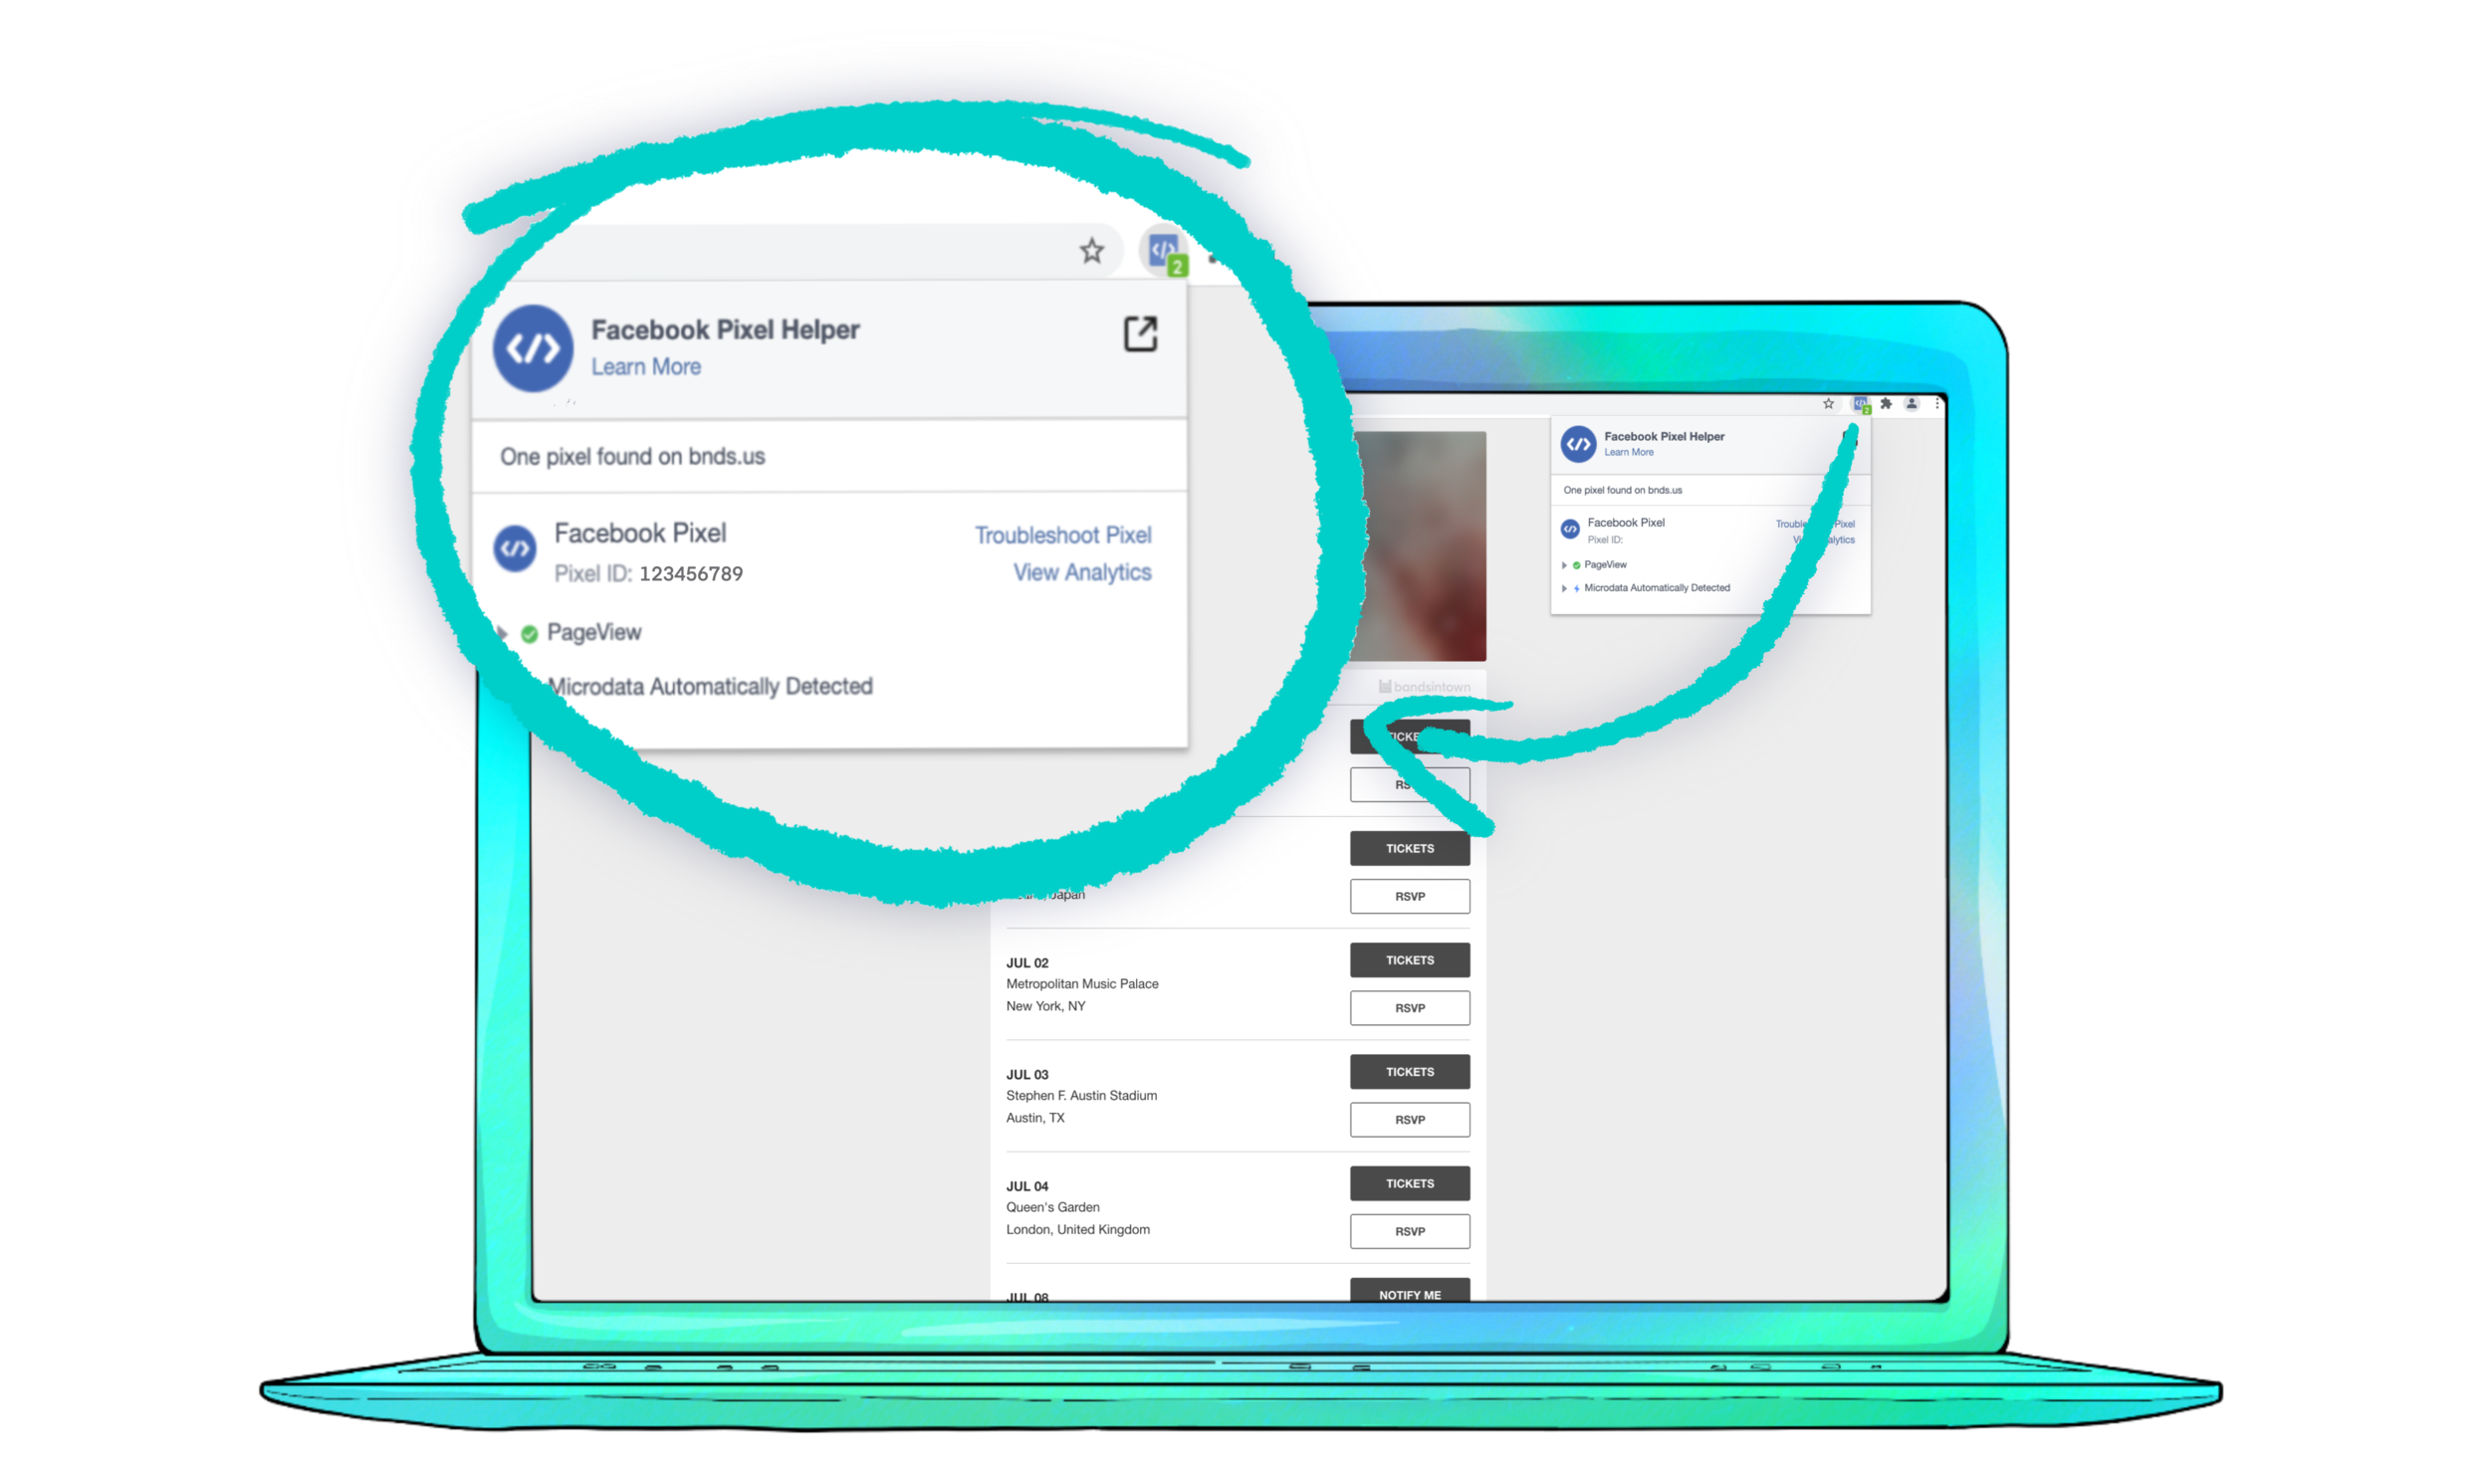
Paste the link on the Google Chrome browser tab and check that, when loading the Promo Page, it triggers the (correct) Facebook Pixel on the Facebook Pixel Helper extension.
step 5

After confirming that the correct pixel is being triggered, it’s important to test that Facebook also identifies views (visitors) to your Promotion Page. To properly test this, you’ll need to load your Promo Page while logged in as different Facebook users (Tip: use Incognito mode, then log in with 2-3 test Facebook users).
When confirming you can see viewer activity, click on various of the Promo Page buttons to check that the clicks are captured as ‘events’ (i.e. user actions) and correctly reported (i.e. RSVP button click, Track button click, etc).
Creating a Facebook Retargeting Audience
When you’re ready to set up your Facebook retargeting campaign to re-engage users that have visited your Promo Page and push them a step further, follow these steps:
STEP 1

Log in to your Facebook Ads Manager and select Audiences on the dropdown menu when you click on Advertise on the left-hand side of the screen.
STEP 2

Click on Create Audience at the top left on your screen. For retargeting, select Custom Audience, which will allow you to set up a campaign that reaches people who visited your Promotion Page.
STEP 3
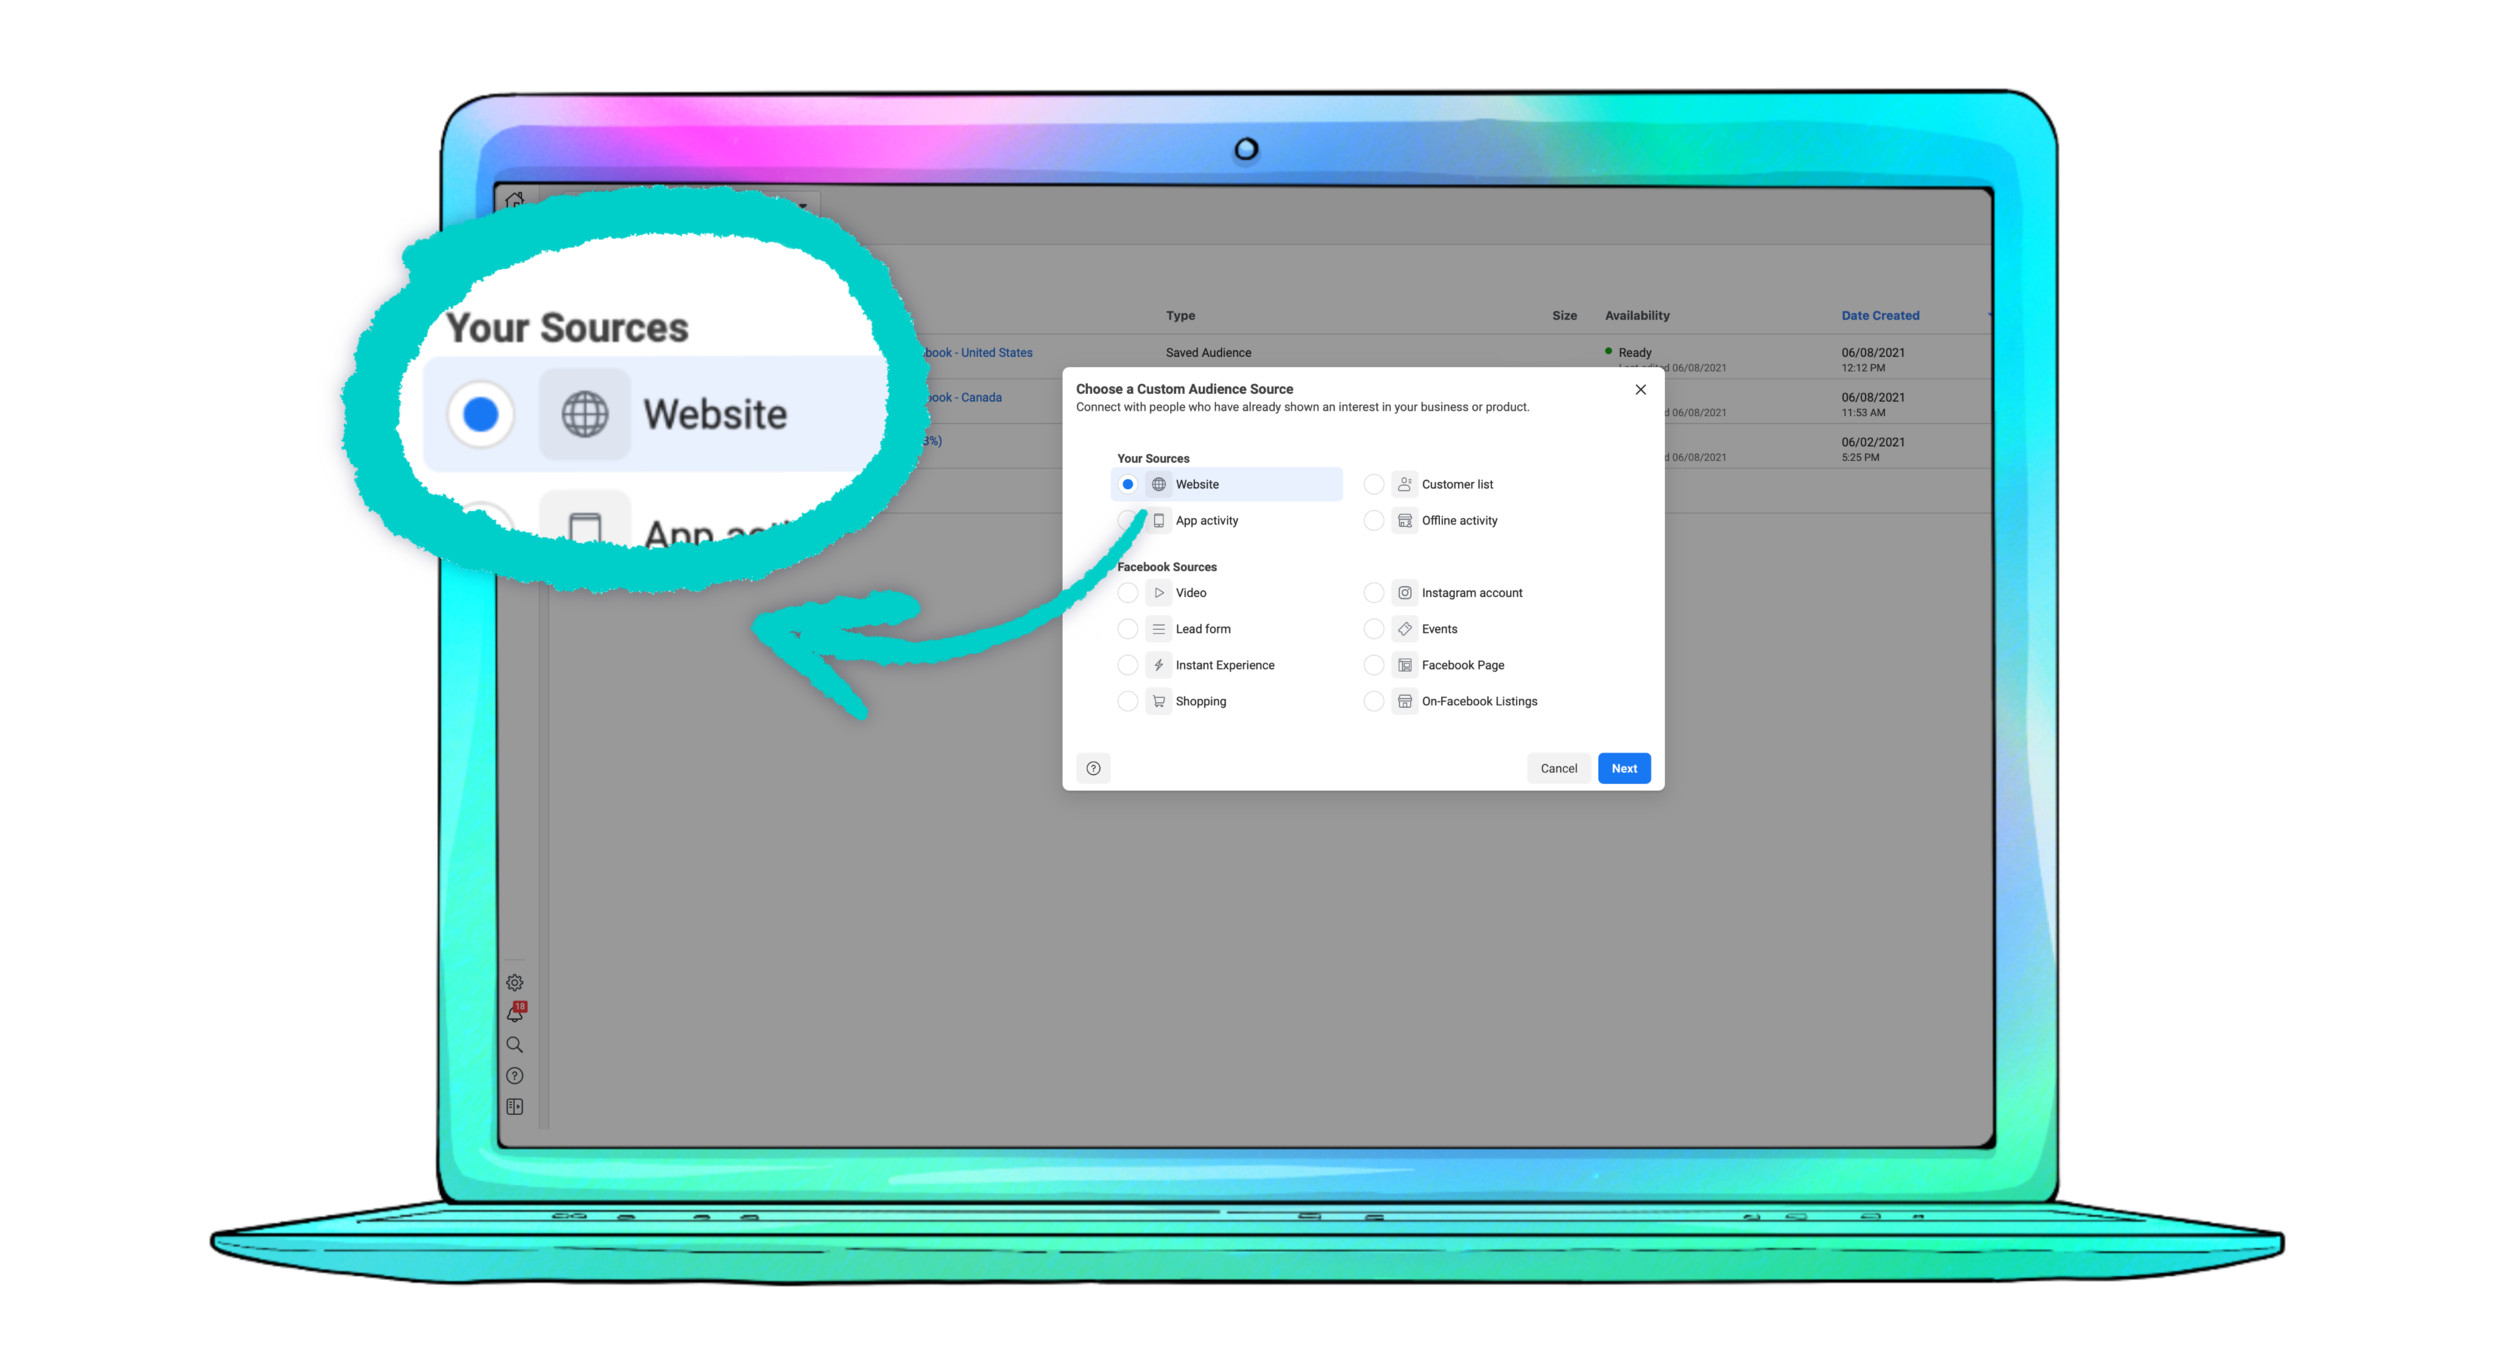
For your retargeting campaigns, focus on Website traffic so you can reach visitors that landed on your Promo Page.
STEP 4

On this step you’ll be able to create your audience. Choose one of the options when clicking on the Events section and change the URL field to equals. Once done, paste your Promo Page URL, give your audience a name, specify the data range, and you’re ready to get started.